
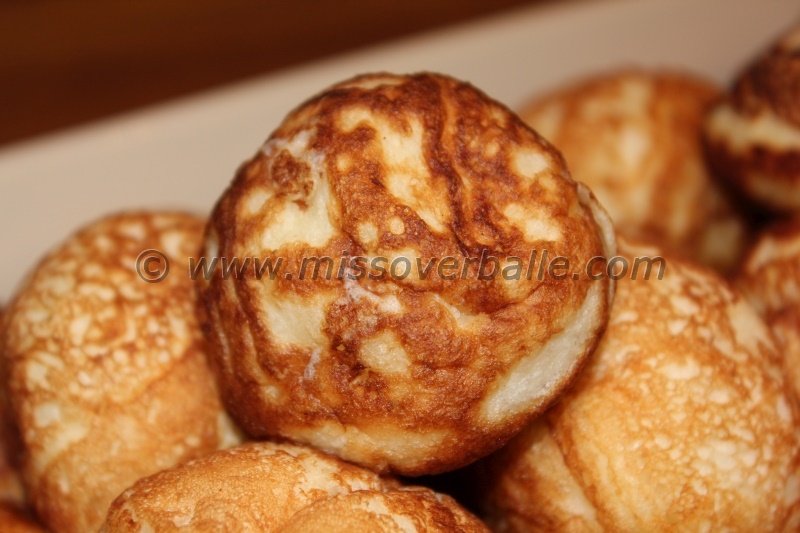
Æbleskiver is a traditional Danish treat associated with Christmas. The name litterally translates to appleslice. Originally, æbleskiver were exactly that, a slice of apple dipped in eggs and flour and fried. The treat was developed into a pancake-type batter, which was baked in a half-spherical cavity pan and “flipped” during baking, resulting in a spherical “pancake”. Before “flipping” the æbleskive, small pieces of apple or fruit compote could be added.
Today most æbleskiver by far does not contain apples. Also, most æbleskiver are bought frozen and warmed in the oven. Making them from scratch takes time and most people don’t want to spend that time.
But homemade æbleskiver taste so much better than store-bought, and while they do take time, they can be frozen and warmed in the oven, so a large batch can last al december (unless you invite all your friends over, then they might eat them all!)
The recipe is my grandmother’s, and was given to me by my aunt. Originally they were fried in lard, I admit I usually use butter. There IS a slight taste difference, and I am partial to the butter, I think because of the saltiness (I use salted butter).
1 egg yolk
1 egg white
100 ml milk
100 g flour
1 tsp. sugar
1 tsp. salt
5- 10 g fresh yeast or 1.5 to 3.5 g dry yeast (25/8.5 g for 3 eggs, 50/16.5 g for 10 eggs)
Dissolve the yeast in the milk, whisk in the egg yolks, then the salt and sugar and lastly the flour. Whip the egg whites stiff and fold into the dough.
Let the dough rest for 30 minutes, before beginning the frying process.
Fry the ebelskiver in an ebelskive pan, turning them over when the outside has set, first 90 degrees, then all the way.
If making a portion of ebelskiver to eat immidiately, I place them in the oven at 100 degrees Celsius, to keep them warm until I have fried them all. Serve with powdered sugar and jam for dipping.
I usually make a huge portion and stick in the freezer. Here I let the ebelskiver cool on a baking sheet, before placing in freezer bags and putting them in the freezer. When we want to eat them, we thaw them in the oven at 200 degrees for 15- 20 minutes, breaking one open to see if it is heated through.
The hardest part of making æbleskiver is frying them and turning them in the pan to get the spherical shape.
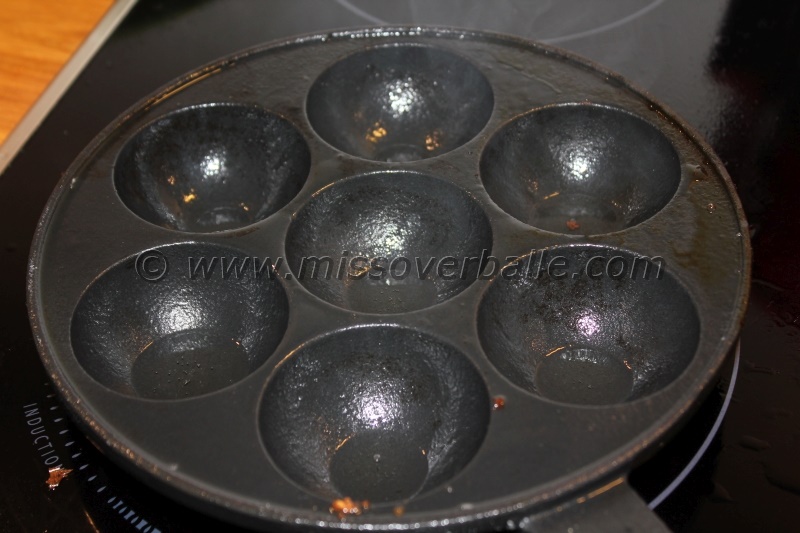
First, the pan is heated (much as you would with pancakes), and brushed with butter. (I usually melt a large knob of butter, so I am ready to brush the pan)
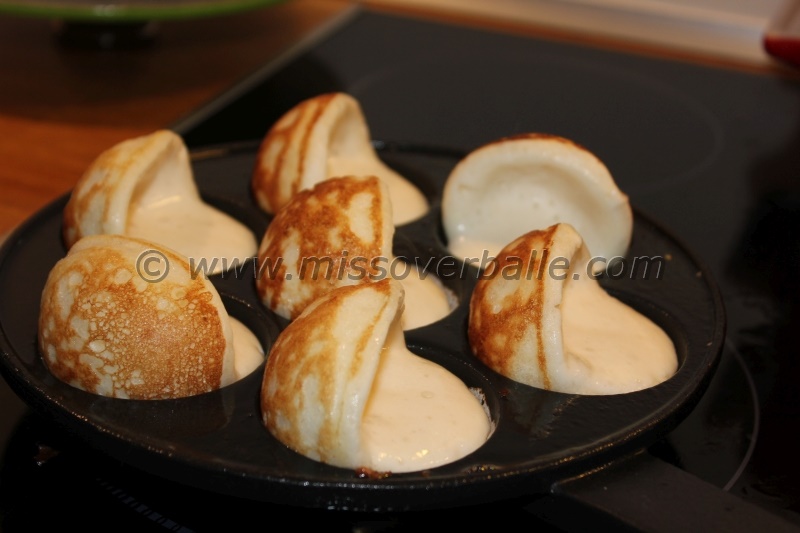
Then the dough is added to the pan, just to the level of the pan, the dough expands a little, as seen in the picture below.

When the edges seem cooked, use a skewer or a thin fork to turn the ebelskivers 90 degrees, as seen in the picture below.
Again you wait until the edges have set and turn again, this time more than 90 degrees, so the opening faces downwards.
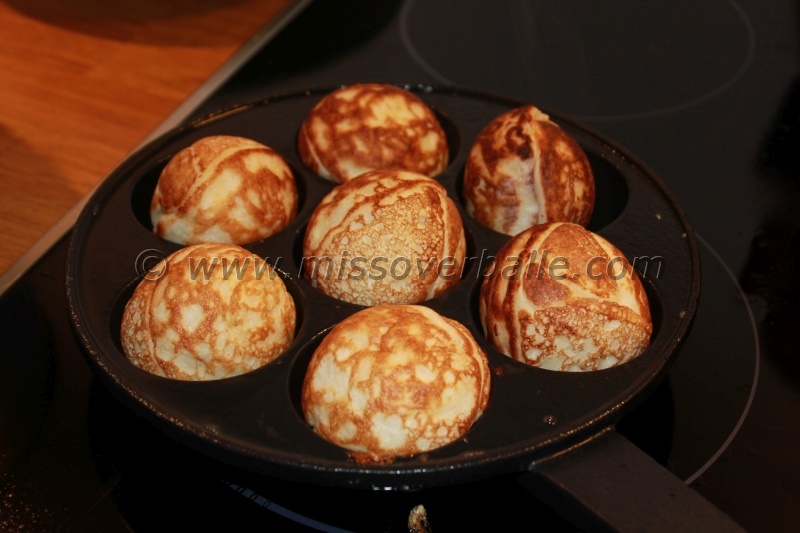
Now you wait a bit before you start turning the ebelskiver occasionally, until you are satisfied with the colour of the ebelskiver and they are cooked through (a clean skewer will reveal if the inside is sticky). Lift the ebelskiver out with a skewer, and begin the next portion. If the pan looks dry, brush the pan with butter again.
The challenge when baking them is finding the right heat setting, where the sides set so they can be turned, while the center remains liquid until the last turn. It takes some practice, but even the non-spherical ones taste delicious!